
XYZ Carve Build Instructions

7.Y Axis Rails
Y Axis Rails.
How to view the animation? Autodesk embedded models have been having some issues, if you cannot view the model below please click Here
Best viewed in full screen using the button at the right of the bottom toolbar. Autodesk embedded models have been having some issues, if you cannot view the model below please click Here
Best viewed in full screen using the button at the right of the bottom toolbar.
Best viewed in full screen using the
 button at the right of the bottom toolbar. Autodesk embedded models have been having some issues, if you cannot view the model below please click Here
 Best viewed in full screen using the
button at the right of the bottom toolbar.Notes Before you start:
- Do not tighten the belt clamp bolts, just connect loosely as these will come off again later when attaching the belts.
- Note also there is a lonely T slot nut inserted into one of the side rails on the Makerslide y Rail, this will be used later for a limit switch trigger bolt. Notice also the T slot is offset to the bottom of the rail, orient your Makerslide so that this t-slot is on the lower side as shown in the drawings.
- Remember, you are making two identical Y rail assemblies here, not just the one!
Y Axis BOM (qty each side):
| Qty | Part | Image | |
| 1 | Makerslide Y Axis | 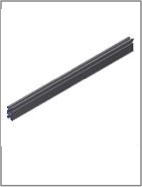 | |
| 1 | Y End Plates | 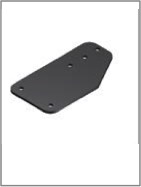 | |
| 2 | GT2 Belt Clamp | 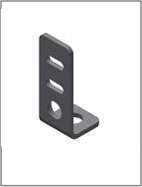 | |
| 2 | Socket Button Head Cap Screw – M5 x 0.8 x 8 | 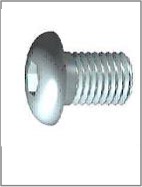 | |
| 4 | Socket Button Head Cap Screw – M5 x 0.8 x 12 |  | |
| 3 | Tee Nuts ‘Pre’ Assembly | 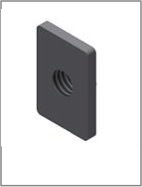 | |
| 2 | Socket Button Head Cap Screw – M5 x 0.8 x 25 |  | |
| 2 | Prevailing Torque Hex Nut – M5 x 0.8 | 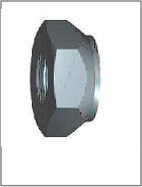 | |
0 of 0 users found this section helpful